
As I’ve mentioned previously, by a combination of choice and chance, I often end up feeding a lot of people at once. I also live on a fixed income, so making the most out of inexpensive ingredients isn’t just something I teach, it’s something I do by necessity. Yes, I know you can buy frozen pierogies inexpensively at the grocery store, but I like to know ALL of the ingredients in the things my family eats whenever possible, and prefer to be in control of how much salt, fat, sugar etc. goes into the things I make. I’ve also worked in enough factories to be skeptical of food handling techniques in any environment that is more answerable to its shareholders than its customers. Also, preparing and eating meals as a group strengthens both families and communities, both things that mean a lot to me.
So I make a lot of things from scratch. Also, given the time of year, potatoes are even more available and inexpensive than usual. This is another recipe that will feed a small army on less than $10 worth of ingredients, and still leave leftovers for the freezer. I was cooking with the kids today, not because they’re much help yet, but because I think cooking is one of many life skills best started as early as possible. By making it fun for them now, I hope to encourage a lifelong enjoyment of the art and science of preparing their own meals, as well as providing the tools for making their own kitchens an anchor for their social universes someday, as mine is for me.
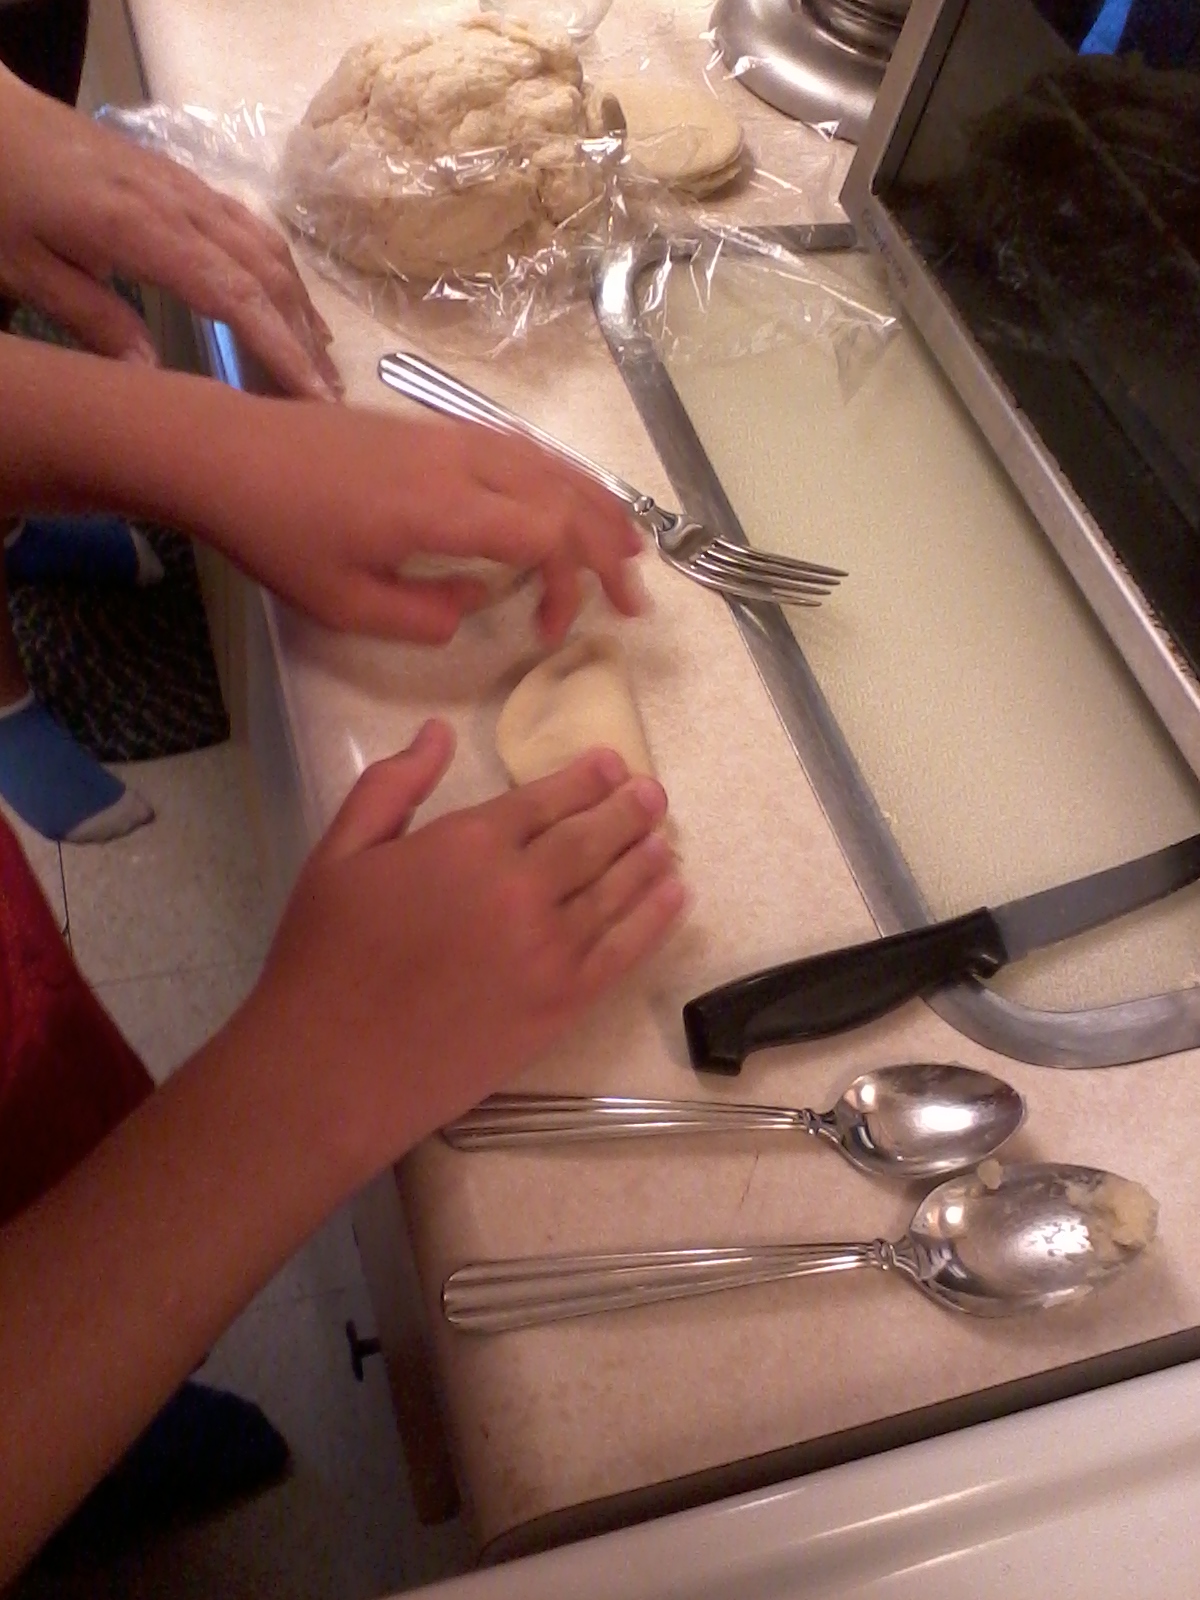
They’re all still pretty young though, so I did a lot of the prep work ahead of time, making and chilling the dough, preparing the filling and allowing it to cool, so they could jump right into the fun ‘hands on’ part as soon as they were ready.
WHAT
Dough

2 cups flour, plus extra for kneading and rolling dough
1/2 teaspoon salt
1 large egg, beaten
1/2 cup sour cream, plus extra to serve with the pierogi
1/4 cup butter, softened and cut into small pieces
butter and onions for sauteeing
Filling
5-6 medium potatoes
1/2 cup sour cream
1/2 cup milk
2 tbsp butter
Your choice of shredded cheddar, finely chopped sauteed onion, dry curd (drained) cottage cheese, minced cooked bacon, whatever blows up your particular kilt in terms of flavours. I don’t measure quantities for these, since it’s up to your individual taste. A general guide might be 1/2 cup cheddar, 1/2 a medium sweet onion, 1/2 cup cottage cheese, but really, play around until it tastes good to you, and is of a consistency that you could roll it into a 1″ ball and have it stay that way without spreading or crumbling. Salt and pepper to taste. Today I made four double batches (about 200 pierogies) so I know this recipe doubles and triples easily. If I’m going to go to the hassle anyway, I prefer to fill the freezer for easy use later, when I’m more pressed for time.
HOW
In large mixing bowl, or bowl of your trusty stand mixer, combine all dry ingredients. Add sour cream, egg and butter all at once, and mix until combined. If working dough by hand, turn it out onto a floured surface and knead until dough is smooth and elastic. If using mixer, just dump everything in with the dough hook and let it run on 1 for a few minutes until smooth. Wrap in plastic wrap and chill for 30 min or overnight.
While dough is chilling peel, quarter and boil potatoes in salted water. Drain when fork tender and mash with whatever combination of ingredients appeals to you. Allow to cool enough to be workable.
Once chilled, on a floured surface, roll dough to 1/8″ thickness and cut out rounds using a biscuit cutter, pint glass or whatever else is handy. Place a rounded teaspoon or so of filling in the center of a round. Dip one finger in water and trace around the edge of the round, then fold over and press edges together to seal. If you like pretty pierogies, crimp the edges with a fork. Place in single layer on a parchment lined baking sheet while working so they don’t stick together. These refrigerate for up to 2 days uncooked, and can be frozen indefinitely. Freeze in a single layer first (you can bag them after they’re frozen) to help keep them from sticking together. If you’re going straight for cooking, pay attention, because I sort of depart from the text here.
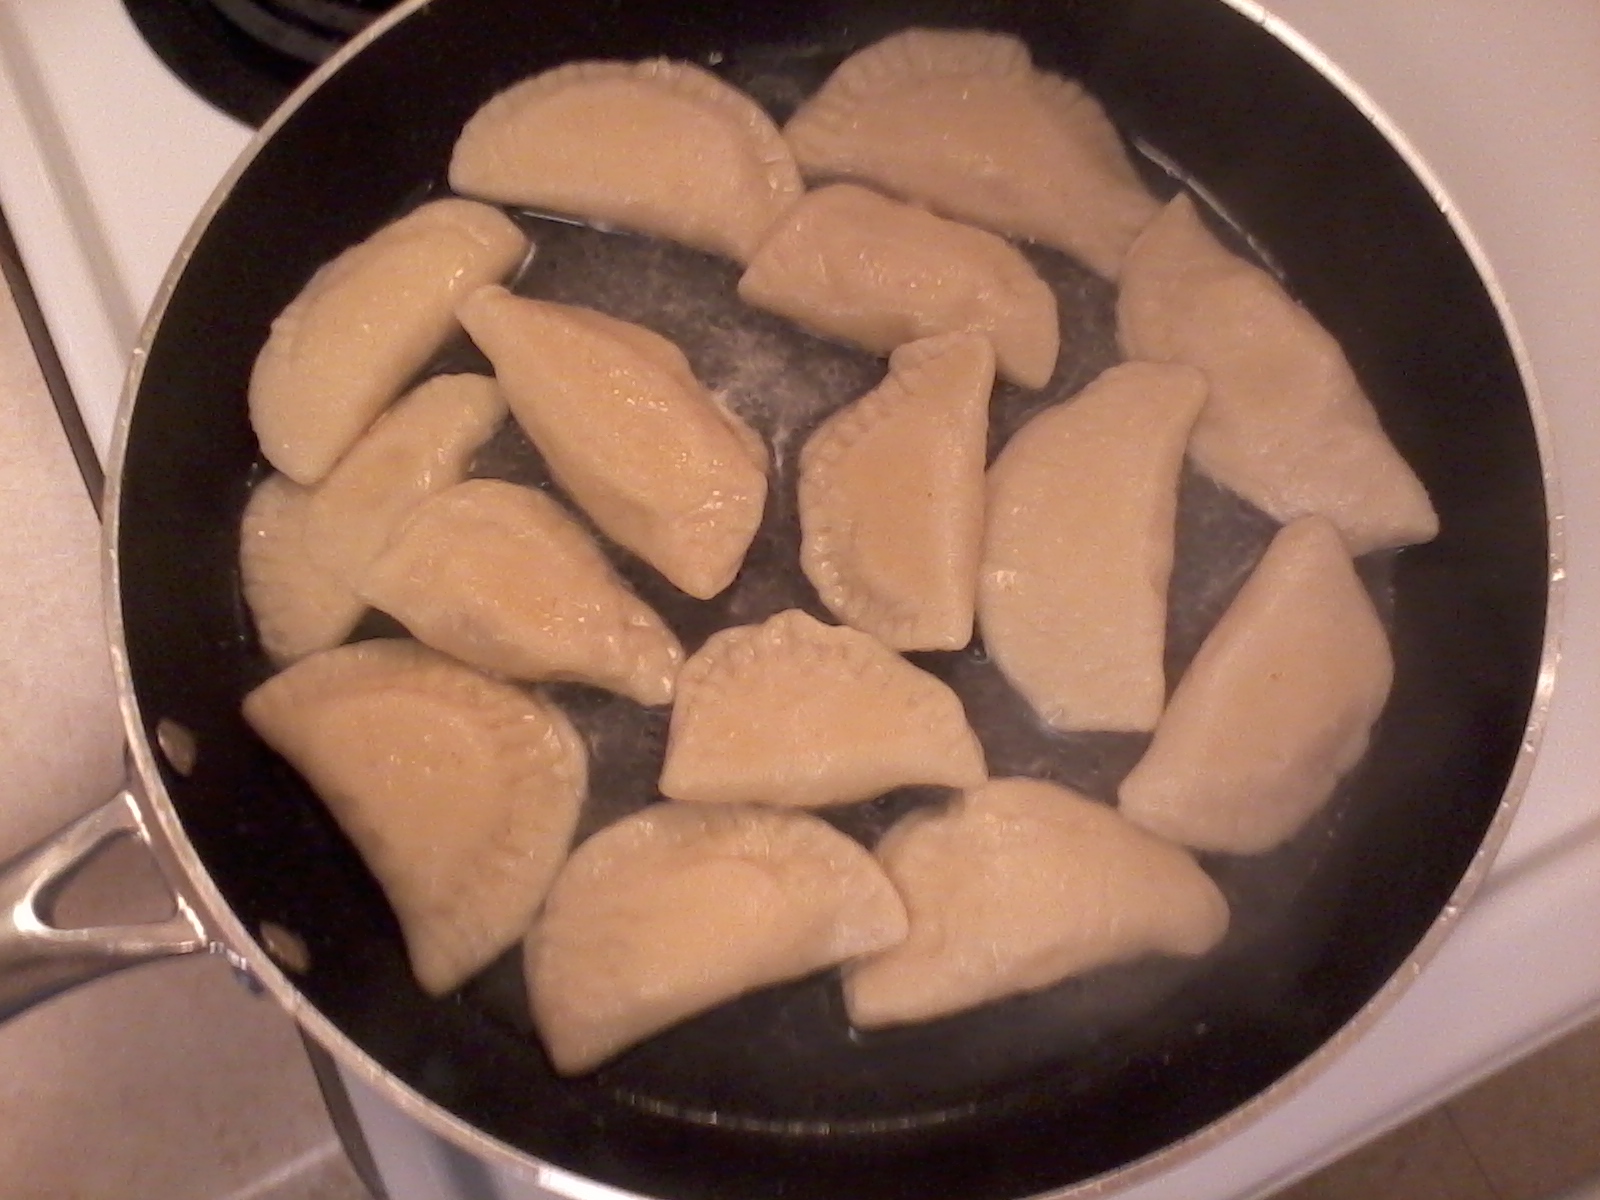
 Most people lean one of two ways with pierogies, they EITHER boil or fry. I do both. Simultaneously, using a method I learned from watching a friend prepare Chinese dumplings. Drizzle 4-6 tbsp of oil into a large, shallow, non-stick pan at medium heat. Top with about 1/2 cup water. Lay pierogies into the water. Allow enough space for them not to be on top of each other or they’ll stick. The water should bubble around them, basically shallow boiling them. Let it boil for 3-4 min, then flip and let the other side boil. Eventually the water will evaporate, and you’ll be left with the oil, so you can move straight from boiling into browning. Let the side that’s down once the water goes brown first, then flip. You may need to keep an eye on them, and move them around to keep them from scorching. Remove when your preferred shade of golden brown is achieved. I make pierogies a couple of hundred at a time, so I often have my big catering pans on standby to keep them warm in the oven until I’m ready to serve. Often I’ll bake large chunks of kielbasa or similar style sausage while I’m sauteeing pierogies.
When serving, top with sauteed onions, crisp bacon, shredded cheddar, sour cream…whatever.

Enjoy!

Thanks for bringing me some! Can’t wait to have them for dinner tonight!! LOVE the instructions enclosed with them… please don’t blow up my house.